
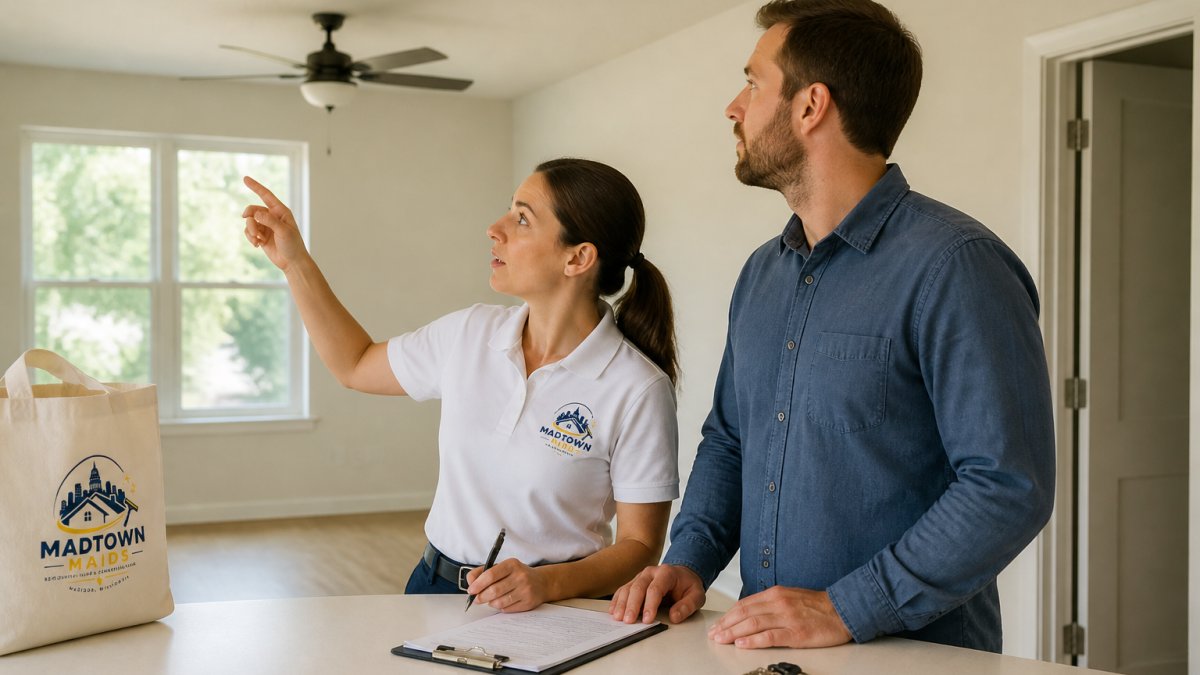
 how-to
How to Pass a Move-Out Inspection and Protect Your Deposit
Last Updated: October 25, 2026
Quick Summary
To pass a move-out inspection, read your lease and move-out notice first, then repair damage before you clean, deep clean to a landlord's standard, and photograph every room before the walkthrough. Landlords compare the unit to your move-in condition report and can only charge for damage beyond normal wear and tear.
- Start 30 days out by reading your lease, move-out notice, and move-in condition report.
- Complete repairs before cleaning so you do not create a new mess.
- A move-out inspection usually takes 30 to 60 minutes for a standard apartment.
- Take date-stamped photos the day you finish cleaning, before the inspection.
- Disputing a deduction starts with the itemized statement compared to your photos and move-in report.
Table of Contents
- What a Move-Out Inspection Is and Why It Decides Your Deposit
- Your Step-by-Step Plan to Pass the Inspection
- The Move-Out Cleaning Checklist That Covers Every Room
- What Landlords Look For During a Move-Out Inspection
- Move-Out Inspection Photos and Documentation That Hold Up
- How Long Does a Move-Out Inspection Take?
- Wear and Tear vs. Damage: What a Landlord Can and Cannot Charge
- How to Dispute an Unfair Deposit Deduction
- Frequently Asked Questions
What a Move-Out Inspection Is and Why It Decides Your Deposit
A move-out inspection is the landlord's final walkthrough of your rental unit before your security deposit is returned.
A clean, documented unit rarely sparks arguments. A rushed one almost always does.
The stakes are simple. Your landlord compares what they see now to what they recorded at move-in. Any gap becomes a potential deduction.
That's the whole game. Now here's how to win it.
Your Step-by-Step Plan to Pass the Inspection
The plan runs on a clock, not a feeling. Work backward from your inspection date and the phases fall into place: read, repair, clean, document.
Here is a workable timeline most renters can follow. Adjust the days to your lease terms and how much notice your landlord requires.
| When | What to do | Why it matters |
|---|---|---|
| Day 30 before move-out | Read the lease, move-out notice, and move-in condition report. Note the notice deadline, inspection date, and any cleaning clauses. | Missing a written notice deadline can cost deposit money before the inspection even starts. |
| Day 21 | Walk the unit with your move-in report in hand and list every difference, repair, and cleaning task. | You cannot fix what you have not itemized. |
| Day 14 | Complete repairs: patch nail holes, replace bulbs and batteries, swap cracked outlet covers, re-hang blinds. Keep every receipt. | Repairs after cleaning just make a new mess. |
| Day 7 | Deep clean room by room using the checklist below. Photograph as you finish each room. | Fresh photos of a finished room are your strongest evidence. |
| Day 2 | Final walkthrough of your own. Re-check the spots landlords target: inside the oven, behind the toilet, on top of the fridge. | A second pass catches what the first one missed. |
| Inspection day | Bring your photos, receipts, move-in report, and checklist. Attend if your lease allows. | You can answer questions and point out repairs on the spot. |
If you would rather hand the whole thing to a crew, move-out cleaning in Madison, WI built around what landlords actually inspect is a fast route to a landlord-ready unit.
Step 1: Read Your Lease and Move-Out Notice
Start with the paperwork. Your lease and move-out notice spell out your cleaning obligations and the inspection date. Read the fine print on both.
Watch out: miss the written notice deadline in your lease and your deposit can take a hit before the inspection even starts. Notice periods vary by lease and by state, some require 30 days, some 60, and some tie notice to the end of a rental period.
- Note the inspection date and who attends
- Check the required notice period and how it must be delivered (written, email, portal)
- Confirm your lease end date and any early-termination terms
Step 2: Repair and Replace Before You Clean
Fix damage before you scrub anything. Repairing after cleaning just makes a new mess.
- Patch small nail holes and touch up paint with the matching color
- Replace burned-out bulbs and dead batteries in smoke and carbon monoxide detectors
- Swap cracked outlet covers and switch plates
Keep receipts for anything you replace. They are proof if a charge gets disputed, and they show the landlord you addressed the issue rather than ignored it.
Step 3: Clean to a Standard, Not a Glance
Cleaning needs to pass a landlord's eye, not yours. Landlords check inside appliances, behind fixtures, and along baseboards.
A practical pass standard is simple: if a landlord can drag a finger along a surface and come away with residue, it is not done.
If you are hiring help, learn how to prepare for cleaners before the crew arrives, so nothing gets missed.
Step 4: Document Before the Walkthrough
Photos taken the day you finish cleaning, before the inspection, carry real weight in a deposit dispute. Shoot wide shots of every room, close-ups of any pre-existing damage, and interiors of appliances and closets. Keep the date on every image and store them somewhere you can retrieve later. The documentation section below covers the full evidence workflow.
The Move-Out Cleaning Checklist That Covers Every Room
Most checklists tell you what to clean. This one tells you when a room is actually pass-ready. Work top to bottom in each room, and do not skip the spots renters forget: inside the oven, behind the toilet, on top of the fridge.
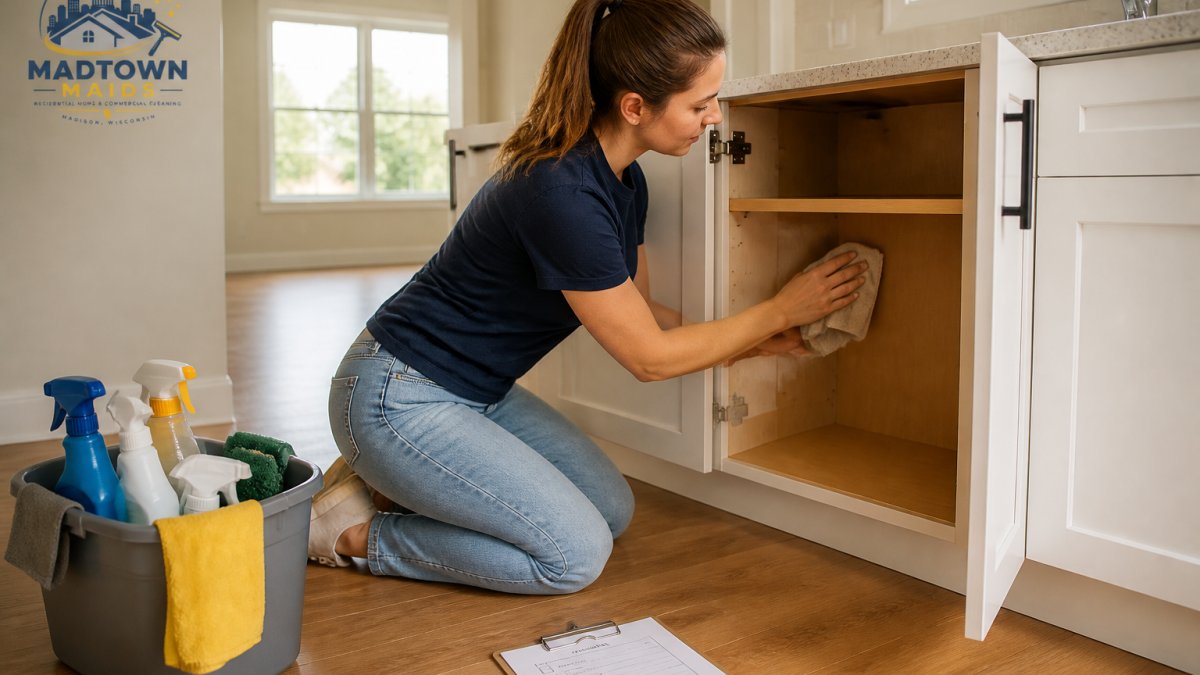
Kitchen
- Degrease the oven interior, racks, and stovetop, including under the burner grates
- Wipe the inside and outside of the fridge and freezer, and pull it out to clean behind it
- Clean cabinet fronts, handles, and the inside of empty cabinets and drawers
Pass standard: no grease film on the range hood or backsplash, no crumbs in drawer corners, no odor when the oven door opens.
Bathroom
- Scrub grout until dark buildup is gone, and remove soap scum from glass and tile
- Clean the toilet inside and out, including the base and behind the bowl
- Wipe the exhaust fan cover and clear visible dust
Pass standard: no pink or black buildup in grout lines, no water spots on glass, no hair or residue in corners.
Living Room and Common Areas
- Vacuum carpets and rugs, including edges and under furniture
- Wipe baseboards, door frames, and switch plates
- Clean window tracks, sills, and blinds
Pass standard: no visible dust line along baseboards, no grit in corners, no cobwebs at ceiling joints.
Bedrooms
- Clean closets inside and out, including shelves and rods
- Wipe shelves, drawers, and the tops of door frames
- Vacuum under the bed and inside any storage areas
Pass standard: no dust on closet shelves, no debris under furniture, no marks on walls that a damp cloth will not lift.
Throughout the Unit
- Wash walls and spot-clean scuffs, and clean light switch plates and outlet covers
- Clean light fixtures and replace any burned-out bulbs
- Sweep and mop all floors, and vacuum carpets last
Pass standard: the unit looks and smells empty and neutral, with no personal items left behind and no lingering odors.
A room is pass-ready when a landlord can inspect it without finding a single item to note. If you would hesitate to photograph a corner and send it to your landlord, clean it again.
Want the full picture? Our cleaning checklist shows exactly what a thorough clean covers, room by room.
What Landlords Look For During a Move-Out Inspection
Landlords look for three things: cleanliness, damage, and condition match. They compare each room to the move-in condition report and note anything different.
The usual targets are predictable:
- Carpet stains and odors
- Grease in the kitchen
- Soap scum and grout in the bathroom
A common mistake is cleaning the visible surfaces and ignoring the rest. Landlords open appliances. They check closets. They look behind doors.
Move-Out Inspection Photos and Documentation That Hold Up
Photos are your best defense against unfair charges. Take them the day you finish cleaning, before the inspection. Date-stamped photos carry real weight in a deposit dispute.
Build a simple evidence file:
- Wide shots of every room
- Close-ups of any pre-existing damage
- Photos inside appliances and closets
Keep the date on every photo. The U.S. Department of Housing and Urban Development publishes renter resources that explain deposit basics, and many state consumer protection offices offer similar guidance.
How Long Does a Move-Out Inspection Take?
A move-out inspection usually takes 30 to 60 minutes for a standard apartment. Larger units or ones with damage take longer.
The time depends on unit size and how many issues the landlord finds. Be there if your lease allows it. You can answer questions and point out repairs on the spot.
Bring your documentation and your checklist. A prepared tenant makes the walkthrough faster and smoother.
Wear and Tear vs. Damage: What a Landlord Can and Cannot Charge
Normal wear and tear is the natural decline from everyday living. Damage is harm beyond that. Landlords can charge for damage, but not for wear and tear.
The line isn't always obvious. Here's how it usually breaks down:
| Item | Normal Wear and Tear | Chargeable Damage |
|---|---|---|
| Paint | Faded or minor scuffs | Large holes, drawn-on walls |
| Carpet | Worn paths, light fading | Burns, deep stains, pet damage |
| Floors | Light scratches | Gouges, water damage |
| Fixtures | Loose handles | Broken or missing parts |
| Walls | Small nail holes | Large holes, cracks |
Rules vary by state. Your state consumer protection office can point you to local tenant rights. When in doubt, ask for the rule in writing.
How to Dispute an Unfair Deposit Deduction
Disputing a deduction starts with the itemized statement. Landlords must usually send one listing each charge.
Then take these steps:
- Gather your evidence: photos, receipts, and the condition report
- Write a clear letter stating each charge you dispute and why
- Send it in writing and keep a copy
- Set a reasonable deadline for a response
- Escalate to your state consumer office or small claims court if needed
The Federal Trade Commission offers consumer guidance on resolving disputes. Stay calm and factual. Paper trails win.
If you'd rather start from a spotless unit and skip the argument, get a free cleaning quote and let a crew handle the details.
Madtown Maids helps renters avoid that. Our trained, background-checked teams deliver landlord-ready move-out cleaning, transparent pricing, and no long-term contracts.
Get started with Madtown Maids and hand back a unit that protects your deposit.
Frequently Asked Questions
What should I clean before a move-out inspection?
Work from the top down and the back of each room forward. Inside appliances, cabinet interiors, baseboards, blinds, light fixtures, and behind furniture are the spots that fail inspections most often. Bathrooms need grout, caulk, and fixture descaling, and floors should be swept and mopped after everything else is done. A move-out cleaning checklist organized room by room keeps you from skipping the hidden areas landlords check first.
Can a landlord charge for normal wear and tear?
No. Normal wear and tear, such as faded paint, minor scuffs from furniture, and lightly worn carpet in high-traffic paths, is the landlord's cost to absorb. Charges apply to damage beyond ordinary use, like burns, pet stains, holes in walls, or broken fixtures. Move-out inspection photos and documentation taken at move-in and move-out are your best evidence for drawing that line if a deduction looks unfair.
Should I attend my move-out inspection?
Attend if your lease or state law gives you the option. Being present lets you point out repairs you made, confirm the condition report on the spot, and ask questions before anything is written down. Bring your move-in condition report and your photo set. If you cannot attend, ask for the inspection date in writing and request a copy of the itemized statement afterward.
How long does a move-out inspection take?
Most move-out inspections run 30 to 60 minutes for a one- or two-bedroom rental, and longer for larger units or properties with extensive documentation. The walkthrough itself is quick; the time goes into comparing the unit against the move-in condition report and photographing findings. Ask your landlord for the inspection date and expected window so you can finish cleaning and repairs beforehand.