 how-to
9 Steps to Deep Clean After a Kitchen Renovation
Last Updated: November 1, 2026
Quick Summary
Kitchen renovation cleaning means working top to bottom: dry-dust ceilings and vents first, then cabinets, counters, appliances and window tracks, with floors last. Seal the kitchen off and close the vents, since fine dust can travel through the HVAC system. Wait at least two hours after cleaning, then run a second-pass dust check before replacing the filter.
- Clean from the top down, because dust falls and starting low means cleaning surfaces twice.
- Seal the kitchen doorway with painter's tape and 4-mil plastic sheeting on all four sides.
- Set the thermostat to fan-only or off during heavy cleaning so dust is not pulled into the return.
- Wait at least two hours, ideally overnight, before running the white-glove dust check.
- Replace the HVAC filter after the second-pass check, not before, since new filters load up quickly.
Table of Contents
- What You'll Need: Tools and Products for Construction Dust
- How to Clean Construction Dust After Renovation, Top to Bottom
- Post-Renovation Kitchen Cleaning Checklist, Surface by Surface
- Before You Start: Set the Room Up
- Step 1: Ceilings, Corners, and Light Fixtures
- Step 2: Vents, Range Hood, and HVAC Openings
- Step 3: Upper Cabinets, Tops, Interiors, and Hardware
- Step 4: Counters, Backsplash, and Sink
- Step 5: Appliances, Exteriors, Vents, and Hidden Areas
- Step 6: Window Frames, Sills, and Tracks
- Step 7: Floors, Last, Always
- Step 8: The Second-Pass Dust Check
- Protecting Your HVAC System and Air Quality During Cleanup
- How Long Does Post-Construction Cleaning Take?
- Booking Your Kitchen Deep Clean with Madtown Maids
- Frequently Asked Questions
Renovation dust is not like everyday dust.
Construction dust is made of very small particles that float in the air for hours after the work stops. A quick sweep moves it around; it does not remove it.
Some homeowners try to do this alone, which can work for a small project. A professional post-renovation cleaning is often estimated at around $475, according to Angi's 2026 cost guide, though your actual price depends on the size of the space and the scope of work. Angi post-construction cleaning cost guide
Below, we walk through the tools you need, the order to clean in, a surface-by-surface checklist, and how to protect your HVAC system while you work.
What You'll Need: Tools and Products for Construction Dust
A good kit makes this job faster. Most of the dust problem comes from using the wrong tools.
- HEPA vacuum with brush and crevice attachments
- Microfiber cloths, several per room
- Damp mop or microfiber mop system
Pick tools by surface. Cleaners that suit tile can dull or streak finished wood or stone, so check labels first.
How to Clean Construction Dust After Renovation, Top to Bottom
Always clean from the top down. Dust falls, so starting low means you clean the same surfaces twice. Work in one room at a time, and keep doors closed while you clean.
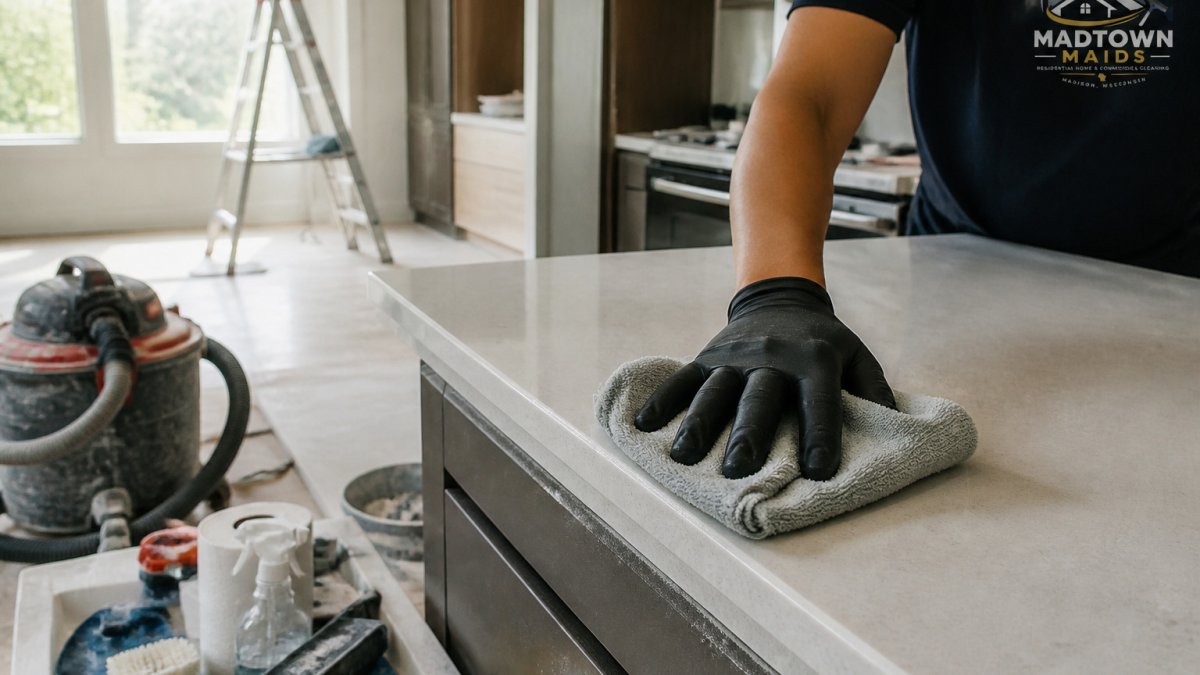
Ceilings, Vents, and Light Fixtures
Begin high. Dust ceiling corners, light fixtures, and fan blades with a microfiber cloth on a long pole. Vacuum or wipe the vent covers, then check the HVAC filter. Dry dusting first keeps mud off your wet cloths later.
Cabinet Interiors and Exteriors
Empty each cabinet before wiping. Dust collects on shelves, hinges, and the tops of upper cabinets. Vacuum the interior, then wipe with a barely damp cloth.
Next, handle counters, backsplashes, and walls. Wipe from the far side toward you so dirt does not drip onto clean areas.
Watch out: wet dust can turn into a sticky paste on hot surfaces, so let appliances cool before wiping.
Post-Renovation Kitchen Cleaning Checklist, Surface by Surface
A generic checklist gets the big surfaces. A kitchen-specific one gets the surfaces that actually hold construction dust: the tops of upper cabinets, the insides of drawer boxes, the toe kicks, the range hood, and the vents. Use this sequence as a repeatable workflow.
Before You Start: Set the Room Up
- Seal the kitchen doorway with painter's tape and plastic sheeting on all four sides.
- Turn the HVAC to fan-only or off, and close the kitchen supply and return vents.
- Put on nitrile gloves, safety glasses, and an N95 or P100 respirator, fine drywall and silica dust is a lung irritant, and the CDC and EPA both recommend respiratory protection for renovation cleanup.
Step 1: Ceilings, Corners, and Light Fixtures
Work a microfiber cloth or a HEPA vacuum brush attachment along ceiling corners, crown molding, and the tops of light fixtures and fan blades. Dry methods first, a damp cloth on a dusty ceiling turns dust into mud that drips. For recessed lights, remove the trim ring if the manufacturer allows it, vacuum the housing, and wipe the ring before reinstalling.
Step 2: Vents, Range Hood, and HVAC Openings
Remove the range hood's grease filter and soak it in hot water with a degreaser; most dishwasher-safe aluminum mesh filters can also go through a dishwasher cycle. Vacuum the hood interior and wipe the stainless with a microfiber cloth and a stainless-specific cleaner, not an abrasive pad, which leaves scratches that trap future grease. For ceiling and wall vents, vacuum the grille with a brush attachment, then wipe with a barely damp cloth.
Step 3: Upper Cabinets, Tops, Interiors, and Hardware
Dust settles on top of upper cabinets first because it falls from the ceiling. Vacuum the cabinet tops with a crevice tool, then wipe with a damp cloth. Inside, empty every shelf and drawer box, vacuum the corners and the drawer slides, and wipe with a cloth dampened with mild dish soap and water. For painted or lacquered cabinets, avoid solvent cleaners and abrasive sponges; for wood-veneer and thermofoil, a pH-neutral cleaner is the safe default.
Step 4: Counters, Backsplash, and Sink
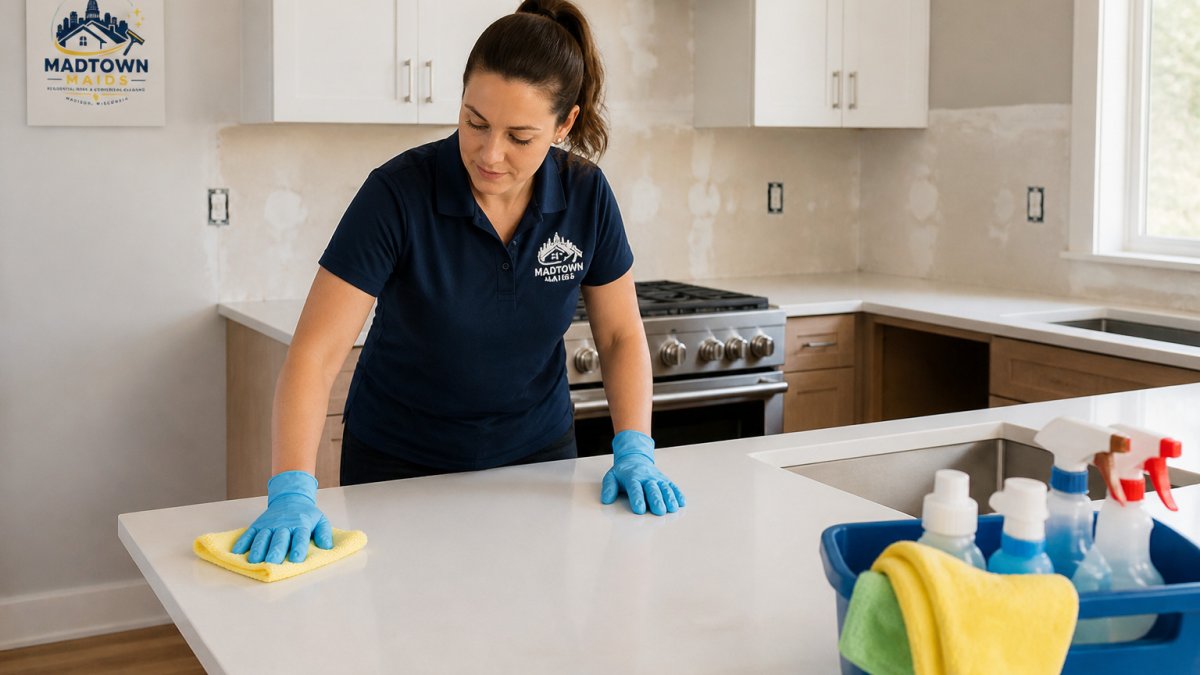
Work from the backsplash down to the counter edge so debris falls onto the floor, not back onto clean surfaces. Match the product to the material:
- Granite and natural stone: pH-neutral stone cleaner only; acidic vinegar and citrus etch the surface.
- Quartz and engineered stone: mild dish soap and water; avoid bleach and high-alkaline cleaners that can dull the resin.
- Marble: pH-neutral stone cleaner; blot spills rather than wiping, and never use an abrasive pad.
For backsplash tile and grout, use a soft-bristle brush and a grout-safe cleaner; avoid acid-based grout cleaners on natural stone tile. Rinse the sink with a non-abrasive cleaner, and use a soft brush around the drain flange and faucet base.
Step 5: Appliances, Exteriors, Vents, and Hidden Areas
- Refrigerator: unplug it, pull it out if the cord and water line allow, vacuum the coils and the floor beneath, and wipe the sides and top. Vacuum the door gaskets with a brush attachment.
- Range and oven: remove the oven racks and soak them; vacuum crumbs and dust from the oven floor before wiping. Clean the control panel with a damp cloth only, sprays can short electronics.
- Dishwasher: wipe the door gasket and the control panel; run an empty hot cycle with a dishwasher cleaner after the kitchen is dust-free.
Step 6: Window Frames, Sills, and Tracks
Vacuum the tracks with a crevice tool, then wipe with a damp cloth wrapped around a flat tool or an old credit card to reach the corners. Use a glass cleaner on the panes only after the frames are dry, and avoid spraying cleaner into the track where it can pool.
Step 7: Floors, Last, Always
Vacuum the entire floor with a HEPA machine, including the toe kicks and the edges where dust piles against the cabinet base. Then damp-mop. For hardwood, use a barely damp microfiber mop and a wood-safe cleaner; for tile and grout, a soft brush and grout-safe cleaner; for luxury vinyl plank, a pH-neutral cleaner and no standing water.
Step 8: The Second-Pass Dust Check
Wait at least two hours, ideally overnight, with the HVAC running on low. Fine dust that was airborne when you finished will settle. Then run a white-glove test: wipe a dark microfiber cloth across the top of the fridge, the upper cabinet tops, the range hood, and the window sills. If the cloth picks up gray residue, repeat the vacuum-and-wipe pass on those surfaces.
The table below summarises the order of work for a post-renovation kitchen clean, step by step.
| Step | Area | Key action |
|---|---|---|
| 1 | Ceilings, corners, fixtures | Dry dust first with a microfiber cloth or HEPA brush |
| 2 | Vents and range hood | Vacuum grilles, soak grease filter, wipe stainless with the grain |
| 3 | Upper cabinets | Empty, vacuum drawer slides, wipe interiors, dry fully |
| 4 | Counters and backsplash | Work top-down, match cleaner to material |
| 5 | Appliances | Vacuum coils and vents, wipe exteriors and gaskets |
| 6 | Window tracks | Vacuum tracks, wipe corners, glass cleaner last |
| 7 | Floors | Vacuum with HEPA, then damp-mop, floors always last |
| 8 | Second-pass check | Wait 2+ hours, then white-glove test with dark cloth |
Protecting Your HVAC System and Air Quality During Cleanup
Construction dust is not just a mess, it is an air-quality problem. Drywall dust, silica from cutting tile or stone, and wood dust from cabinet installation are fine enough to stay airborne for hours and to pass through standard furnace filters. Once the HVAC pulls that dust into the return, it coats the blower wheel, the evaporator coil, and the ductwork, then redistributes it through every room.
Step 1: Isolate the Kitchen Before You Clean
- Seal the kitchen doorway with painter's tape and 4-mil plastic sheeting on all four sides.
- Close the kitchen supply and return vents, or cover them with magnetic vent covers.
- Set the thermostat to fan-only or off for the duration of the heavy cleaning. Running the fan pulls dust into the return.
Step 2: Clean the Vents and Grilles Safely
Vacuum each vent grille with a HEPA vacuum and a brush attachment before wiping it. Do not spray cleaner into the duct opening, moisture in ductwork invites mold. If the grille is removable, take it down, wash it in the sink, dry it fully, and reinstall. For the return grille, vacuum both sides. If you can see visible dust buildup inside the duct beyond the grille, call a duct-cleaning professional; the EPA recommends duct cleaning when there is visible debris or a known contamination source, not as routine maintenance.
Step 3: Choose the Right Filter, and Change It at the Right Time
Check your system's manual for the maximum MERV rating before upgrading a filter, since a high-MERV filter can restrict airflow in some systems.
Replace the filter after the heavy cleaning and the second-pass dust check, not before. A new filter installed while dust is still airborne loads up in days. If the filter is visibly gray after the first pass, change it, run the system on low for a few hours, and check again.
Step 4: Use Air Purification and Wet Methods
A portable HEPA air purifier sized for the kitchen can help pull fine particles out of the air while you work. Run it on high during cleaning and for several hours afterward. Pair it with wet methods: damp wiping and damp mopping lock dust onto the cloth instead of launching it back into the air. Dry sweeping and dry dusting are the two fastest ways to undo an hour of HEPA vacuuming.
Step 5: Protect Yourself While You Work
- Wear an N95 or P100 respirator, safety glasses, and nitrile gloves. Wear respiratory protection when cleaning up renovation dust, since fine silica and drywall dust can irritate the lungs.
- Do not mix cleaning chemicals. Bleach plus ammonia produces chloramine gas; bleach plus vinegar produces chlorine gas. Use one product at a time and rinse between.
- Keep the kitchen ventilated and take breaks outside the sealed zone.
How Long Does Post-Construction Cleaning Take?
A kitchen deep clean after renovation usually takes most of a day for a DIY cleaner, and sometimes longer for a full remodel. Time depends on the square footage, how much dust settled, and how many cabinets and appliances need detailed work.
Plan for more than one pass. The first pass removes the bulk of the dust; the second catches what resettled and finishes the detail work.
Booking Your Kitchen Deep Clean with Madtown Maids
If the job feels bigger than your weekend, Madtown Maids can help. Our trained, background-checked teams handle post-renovation cleaning in Dane County, and we offer transparent pricing and no long-term contracts. Pricing depends on the size of the space and the level of dust. Get a quote for current pricing and an estimate built around your project. You can also review our room-by-room checklist to see what a cleaning includes.
Frequently Asked Questions
How long does it take to clean a kitchen after a remodel?
A kitchen deep clean after a remodel typically takes several hours, depending on the size of the space, how much dust the project produced, and how many surfaces need attention. Plan for the full kitchen, including cabinet interiors, appliances, vents, and window tracks, rather than just the floors and counters. Working in a top-to-bottom order, with dusting before wet cleaning, keeps the job efficient. Pricing and scope depend on the size of the kitchen and the condition it is in, so request a quote from Madtown Maids for current rates and a time estimate for your project.
How do you remove construction dust after a kitchen renovation?
Start by dry dusting ceilings, vents, and fixtures so loose debris falls to lower surfaces, then vacuum with a HEPA-filtered vacuum before any wet cleaning. Wipe cabinets, counters, and appliances with a damp microfiber cloth, and clean inside cabinets and drawers last. Fine construction dust settles into crevices and can spread again if wiped dry, so avoid dry dusting with a cloth that will simply move particles around. Repeat vacuuming after wet cleaning to catch anything that was stirred up.
Should you clean cabinets before putting dishes away?
Yes. Cabinet interiors often collect fine dust from the renovation, and dishes placed inside will pick up that residue. Empty each cabinet, vacuum the shelves, and wipe them with a damp cloth, then let them dry fully before restocking. Clean the exterior and hardware afterward so dust that falls during the process is also removed. Work from the top cabinets down to the lower ones.
When should you hire a professional post-renovation cleaner?
Consider professional help when the renovation produced heavy dust, when dust has reached the HVAC system or vents, or when you lack the equipment, such as a HEPA vacuum, to remove fine particles safely. Professionals also save time on large kitchens and multi-room cleanups. You can request a quote from Madtown Maids on its website for current pricing and scheduling.